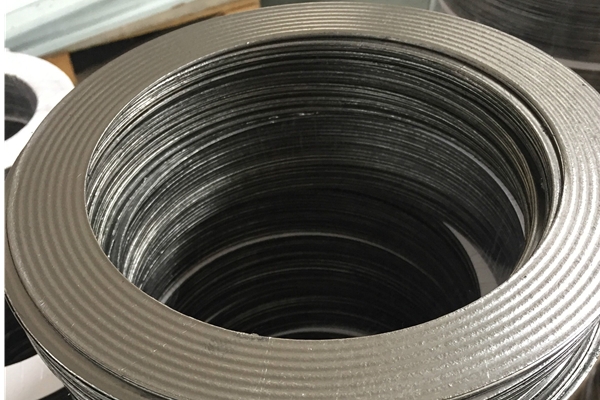
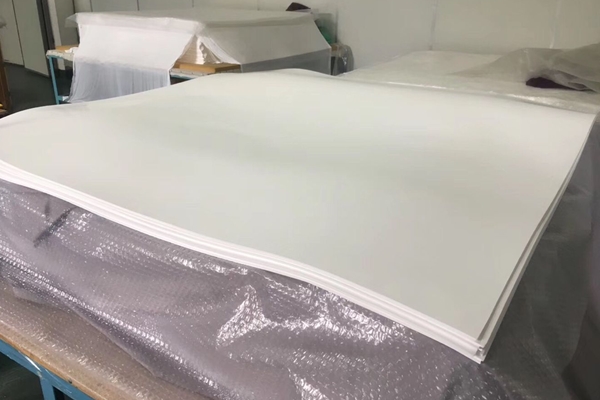
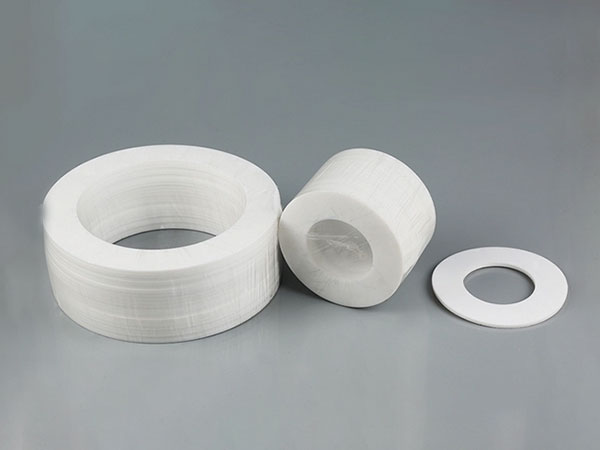
Gland Packing installation is a critical process for ensuring the sealing performance of valves and pumps. Proper installation not only enhances the reliability of the equipment but also extends the service life of the Gland Packing. Below is a detailed, science-based guide to installing Gland Packing for valves and pumps, designed to help you achieve the best results.
Gland Packing Installation for Valves
1. Remove Old Gland Packing and Clean the Stuffing Box
-
Step: Use a specialized tool, such as a Gland Packing hook, to completely remove the old gland packing from the stuffing box.
-
Cleaning: Thoroughly clean the stuffing box and valve stem. Inspect the stem for wear, scratches, or damage. If the stem is excessively worn, replace it immediately.
-
Surface Standards: For optimal sealing, the valve stem surface roughness should be around 0.8 μm, while the stuffing box bore should have a maximum roughness of 3.2 μm.
2. Measure and Record Dimensions
-
Measurements: Measure the valve stem diameter, stuffing box bore diameter, and depth.
-
Calculate Gland Packing Size: Determine the cross-sectional size of the packing using the formula:
Cross-sectional size = (Stuffing box bore diameter – Valve stem diameter) ÷ 2.
3. Cut the Gland Packing
-
Technique: Cut the gland packing into individual rings—do not spiral it into the stuffing box as a continuous coil.
-
Tool: Use a spare valve stem (with the same diameter as the actual stem) as a mandrel for cutting.
-
Process: Wind the gland packing tightly around the mandrel without overstretching it. After cutting, verify that each ring fits the stuffing box properly.
4. Install the Gland Packing Rings
-
One at a Time: Install one gland packing ring at a time, ensuring each is clean and free of debris.
-
Fit: Press each ring firmly into place before adding the next. Ensure the ring is fully seated.
-
Stagger Joints: Offset the seams of consecutive rings by at least 90° to prevent leakage paths.
-
Compression: After installing the required number of rings, use the gland follower to press them into place.
5. Compress and Test
-
Compression: Once the final ring is installed, tighten the gland follower to apply 25% to 35% compression to the packing.
-
Torque: Record the torque value applied to the gland nuts. Operate the valve through its full stroke (open and close) 5 times, stopping with the stem at its lowest position.
-
Re-tighten: After each cycle, re-tighten the gland nuts to the recorded torque value to maintain consistent compression.
Gland Packing Installation for Pumps
1. Remove Old Gland Packing and Clean the Stuffing Box
-
Step: Use a gland packing hook to remove all old packing, taking care not to scratch the shaft or sleeve.
-
Thorough Removal: Remove all gland packing rings, including any lantern rings and the packing beneath them.
-
Inspection: Clean the stuffing box and inspect the shaft and sleeve. Replace any components that are scratched or worn.
2. Measure and Record Dimensions
-
Measurements: Measure the shaft diameter, stuffing box bore diameter, and depth.
-
Calculate Gland Packing Size: Use the formula:
Cross-sectional size = (Stuffing box bore diameter – Shaft diameter) ÷ 2.
3. Cut the Gland Packing
-
Technique: Cut the gland packing into individual rings—avoid spiraling it into the stuffing box.
-
Tool: Use a mandrel (matching the shaft diameter) for cutting.
-
Process: Wind the gland packing snugly around the mandrel without excessive tension. Check that each ring matches the stuffing box dimensions after cutting.
4. Install the Gland Packing Rings
-
One at a Time: Install one ring at a time, ensuring cleanliness and no contamination.
-
Lubrication: Lightly lubricate the inner surface of each ring for easier installation.
-
Fit: Close the ring’s joint and roll it into a circle from one end to the other.
-
Stagger Joints: Offset the seams of consecutive rings by at least 90°.
-
Secure: Use a tamping tool to seat each ring in place firmly.
5. Install Lantern Ring (If Applicable)
-
Placement: If a lantern ring is used, ensure it is positioned below the flush port.
6. Compress and Start the Pump
-
Initial Compression: After installing the final ring, press the gland follower onto the packing and hand-tighten the gland nuts.
-
Caution: Avoid excessive gland pressure to prevent over-compressing the packing.
-
Startup: Start the pump and gradually tighten the nuts until leakage is reduced to the minimum acceptable level.
-
Even Tightening: Ensure all gland nuts are tightened uniformly to avoid overheating or burning the packing.
7. Adjust Leakage Rate
-
Initial Leakage: Allow the gland packing to leak freely when the pump starts. After 1 hour of operation, gradually reduce the leakage.
-
Adjustment: Tighten the gland nuts incrementally (e.g., one flat at a time) until the desired leakage rate is achieved.
-
Temperature Check: Ensure the stuffing box remains cool during pump operation.
Key Considerations
Tools: Use specialized tools (e.g., packing hooks, and tamping tools) to avoid damaging the equipment or packing.
Cleanliness: Maintain a clean workspace to prevent contaminants from entering the stuffing box.
Uniform Compression: Ensure even compression across all gland packing rings to avoid uneven wear or leakage.
Routine Maintenance: Regularly inspect the gland packing after installation and adjust or replace it as needed.
By following these detailed steps, you can ensure the proper installation of gland packing in valves and pumps, enhancing sealing performance and extending the lifespan of your equipment. This methodical approach, grounded in practical engineering principles, helps prevent leaks, reduces wear, and keeps your systems running smoothly.


